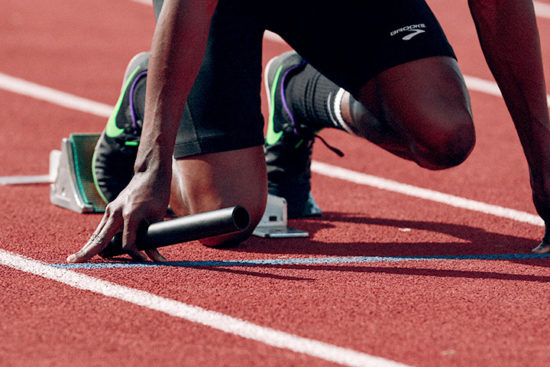
Teaching athletes to use the sprinter’s block
Here are some important teaching points for athletes using the sprinter’s block.
Block settings & foot placement
• Most blocks force a narrow stance, so keep the feet in line with hips. Keep heels straight in line — no duck feet.

• Have the tips of the shoes touch the ground.
• A general rule to follow for foot stagger and distance from the starting line is the power foot block (foot closest to the line) is set by using slightly more than the length of the lower leg. Put the knee down 3 to 4 inches behind the starting line, where the foot is marks the spot.
• The other block is positioned according to knee angle at the set position (usually about 1 foot behind power block)
Leg positions
• A block start has two positions on your mark and set.
• At “on your mark,” the power knee is off the ground and near the chest. The opposite knee is on the ground (relax on it).
• At “set,” the hips rise. The power knee takes on a 90- to 100-degree angle. The opposite knee comes off the ground and takes on a 120- to 135-degree angle. Weaker athletes need bigger angles. The position of the blocks and hip height determine angles.
Hips
• In the set position, the hips must be higher than the shoulders by 3 to 6 inches.
Shoulders
• At “on your mark,” set the shoulders over the hands. If this is done in the set position, the sprinter might be called for a false start and disqualified.
• At “set,” the shoulders are over the hands and not in front, so there isn’t too much weigh forward.
Head position
• Eyes are looking at the starting line (keeping head down). Back of head, neck and back are flat and linear.
Hand & arm positions
• Pyramid the hands as to be on the fingertips with thumbs pointing in toward the body and the fingers closed. The forefinger and thumb are against the starting line. Keep the hands narrow and within the frame-work of the body directly under the shoulders.
• Keep the elbows straight. This (with the pyramid hands) gets the shoulders at maximum height and eliminates a push-up action, thus not popping up at the gun.
• At the sound of the gun, focus on the arm throw. Throw one hand forward (power side) and one backward with fury. The back arm opens long. The center of gravity is in front of the feet. Keep leaning the body and hips forward in a straight line.
• The first steps are short and extremely quick and powerful. Do not allow the heels to come close to the butt. Keep the feet low, quick and powerful for the first four to six steps. The first step should hit 6 to 12 inches past the start line. A longer (overstride) first step blocks momentum, which causes stumbling and loss of speed. Each stride increases in length through acceleration.


